Many people want to switch to jumbo roll tissue at home or in their condo because it's more economical and doesn't need to be replaced as often. But the moment they realize a dispenser has to be mounted, they hesitate — assuming they'll need a drill, have to punch holes in the wall, or call in a technician. In reality, none of that is necessary. This article walks through a no-drill installation method using only high-strength adhesive tape or hook adhesive, something you can do yourself in less than 10 minutes — whether you live in a condo, dormitory, or rental home you'd rather not mark up.
No Drill? Not a Problem
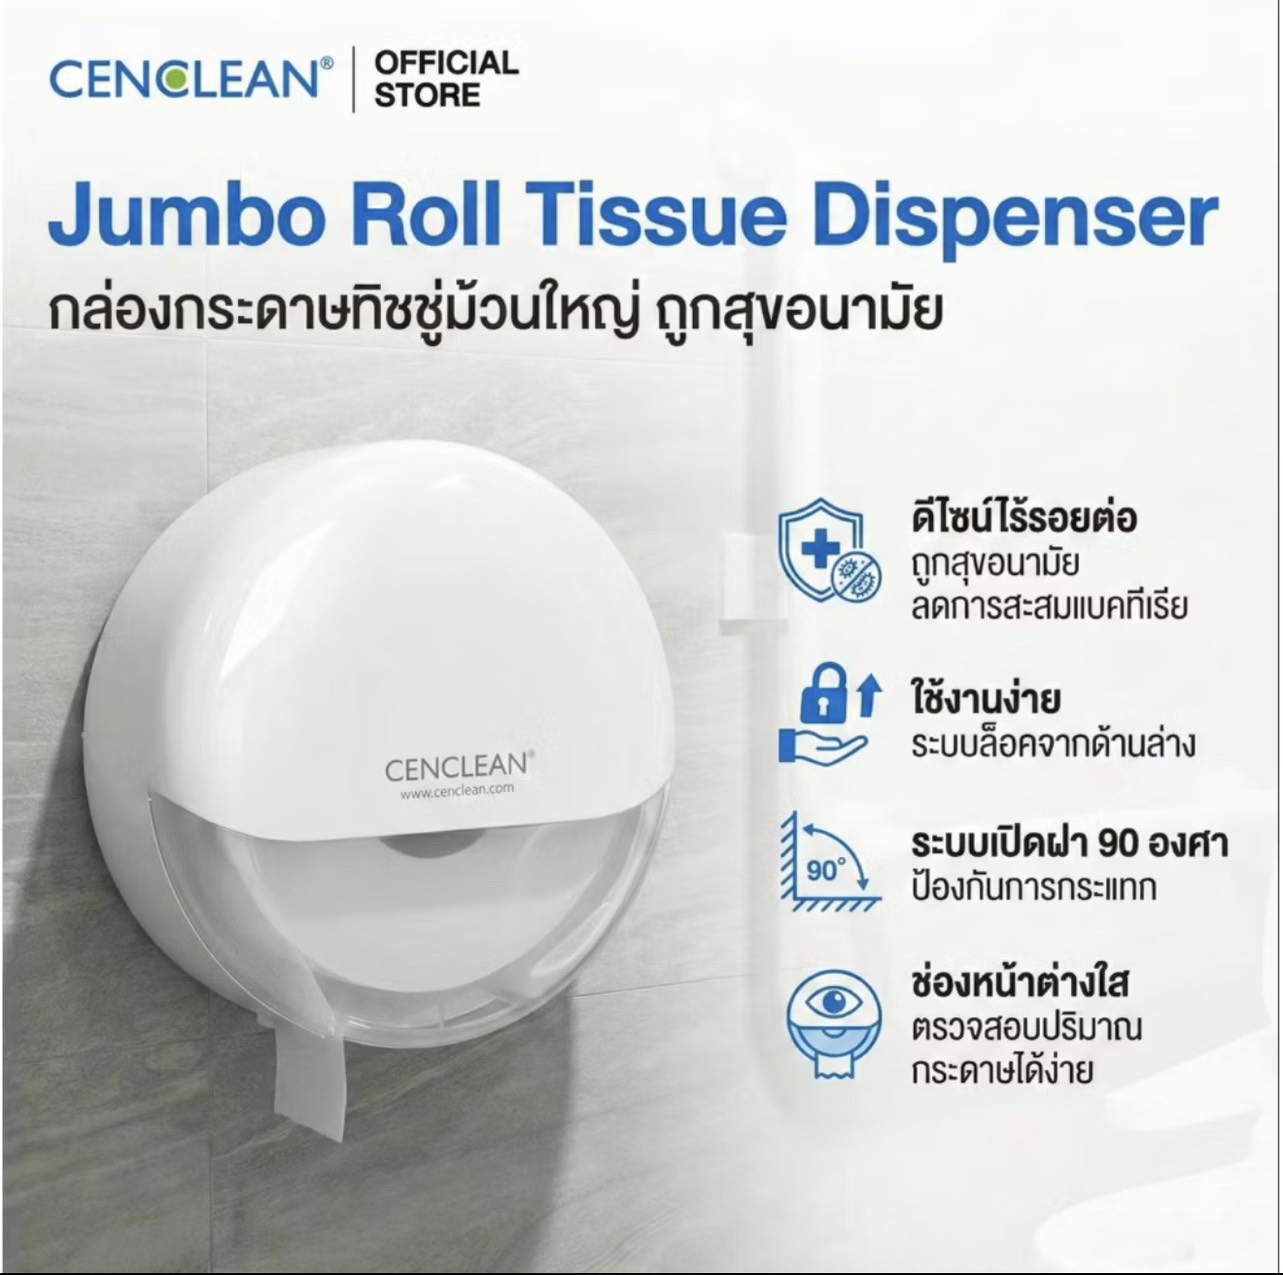
Jumbo roll tissue dispensers can be mounted two ways:
- Drilled with wall plugs — the sturdiest, most durable option, best suited to concrete walls and long-term homes
- No-drill, seamless adhesive tape — ideal for tiled walls, condos, dormitories, or anyone who'd rather not make a permanent hole in the wall
Both methods use the exact same dispenser unit — only the mounting method differs. Whichever you choose, you'll get full functionality either way.
Choosing the Right Spot
Before installing, regardless of method, position the dispenser according to these guidelines:
- Keep it within comfortable "arm's reach" from the edge of the toilet — somewhere you can grab the tissue while seated without leaning or twisting
- Mount it at roughly 65-80 centimeters from the floor, the height range that works most comfortably for both shorter and taller users
What You'll Need (No-Drill Method)
- The tissue dispenser unit
- Extra-strength double-sided adhesive tape, or hook adhesive
- A level (a smartphone app works fine — no need to buy one)
- A pencil (for marking)
No drill, no wall plugs, no screws — everything you need is available at any convenience store or household goods shop.
No-Drill Installation Steps
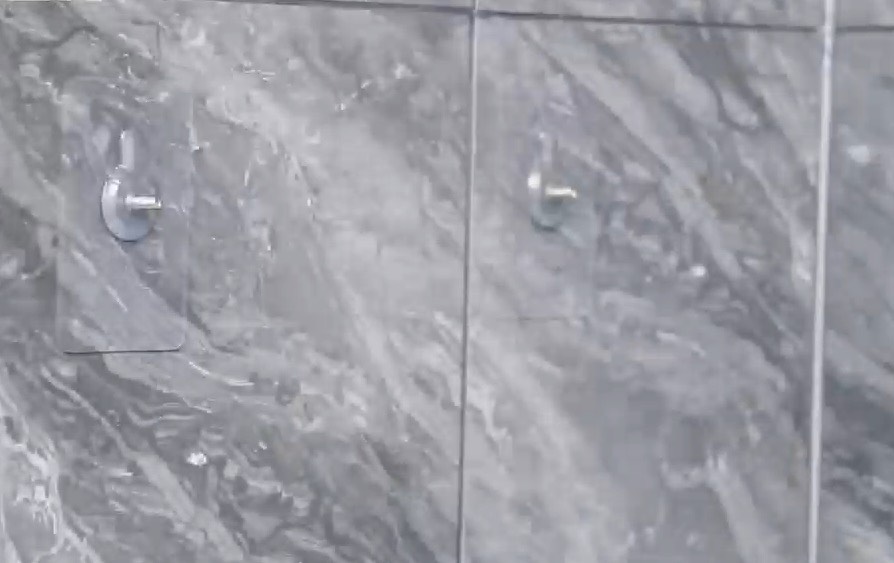
1Mark the Position
Hold the dispenser against the wall beside the toilet, at the distance recommended above. Lightly mark the spot with a pencil before attaching it for real.
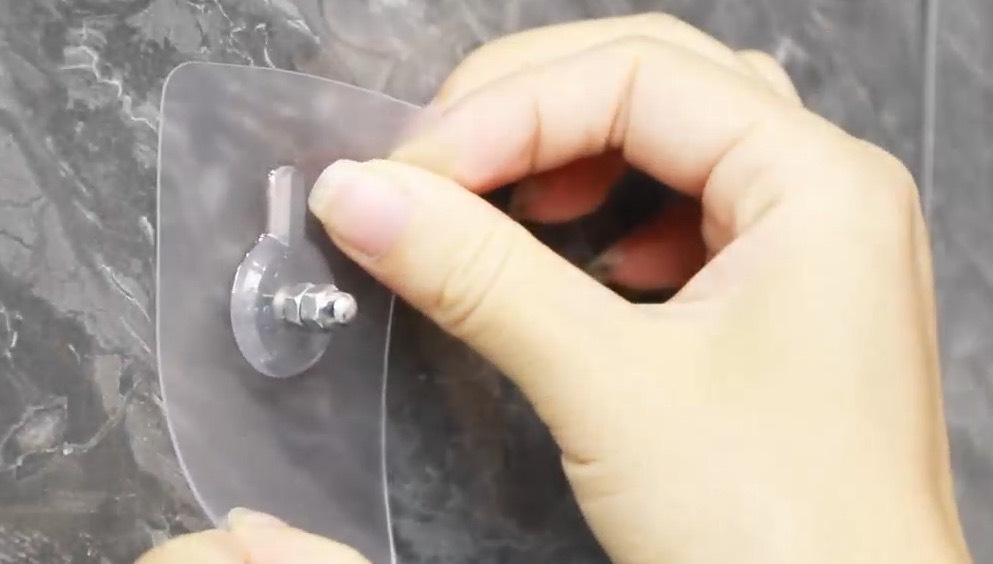
2Prep the Wall and Apply the Adhesive
Always wipe the wall clean of any oil, grease, or dust first — if the surface isn't clean, the adhesive won't hold properly and can come loose easily. Then apply the high-strength tape or hook adhesive evenly across the back of the dispenser.
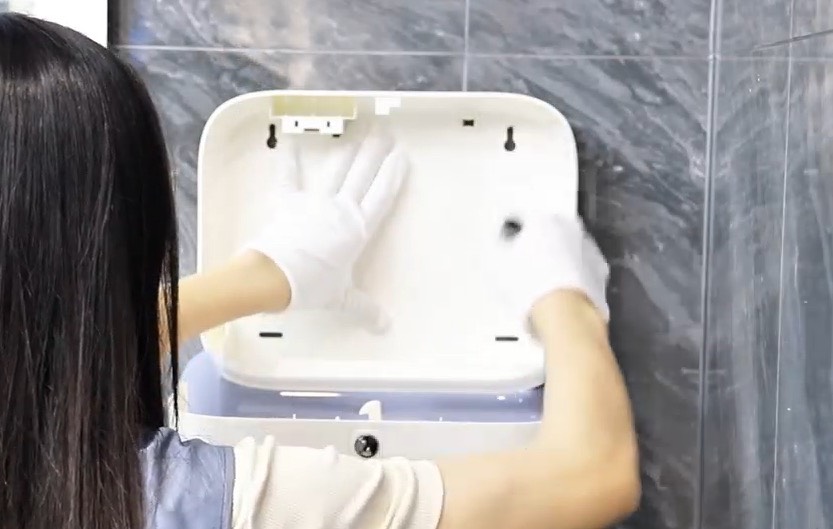
3Mount the Dispenser
Press the dispenser firmly onto the wall at your marked position, and hold it in place for a moment so the adhesive sets. The trick is to press evenly across the whole unit rather than at just one spot, so the holding force is distributed evenly.
4Load the Tissue
Open the dispenser's lid and remove the core. Thread the jumbo roll onto the center core, then pull the tissue end through the slot at the bottom of the unit and close the lid. That's it — ready to use.
Tips for a Long-Lasting Bond
- Make sure the wall is completely dry before attaching the adhesive. If you've just wiped it clean, wait 5-10 minutes for the moisture to fully evaporate.
- After applying the adhesive, let it fully cure before loading tissue and using the dispenser (check the packaging for the specific tape you're using — some brands recommend waiting 24 hours).
- For glossy tile or very smooth surfaces, choose a tape specifically labeled for use on tile or glass — it will hold significantly better than general-purpose tape.
Summary
Whether you live in a condo, dormitory, or rental home you'd rather not mark up, mounting a jumbo roll tissue dispenser yourself is far easier than it sounds. No drill, no technician — just high-strength adhesive tape and four simple steps, and you're ready to enjoy the savings of jumbo roll tissue.